We love the art of freehand lettering and custom signage.
It seems you can't go to a special event, a fall festival or a friend's living room without being surrounded by gorgeous handmade signs. Chalkboard or stained wood, these babies are everywhere, and for good reason. They are such a fun way to decorate, convey a message and set the tone for a theme or season.
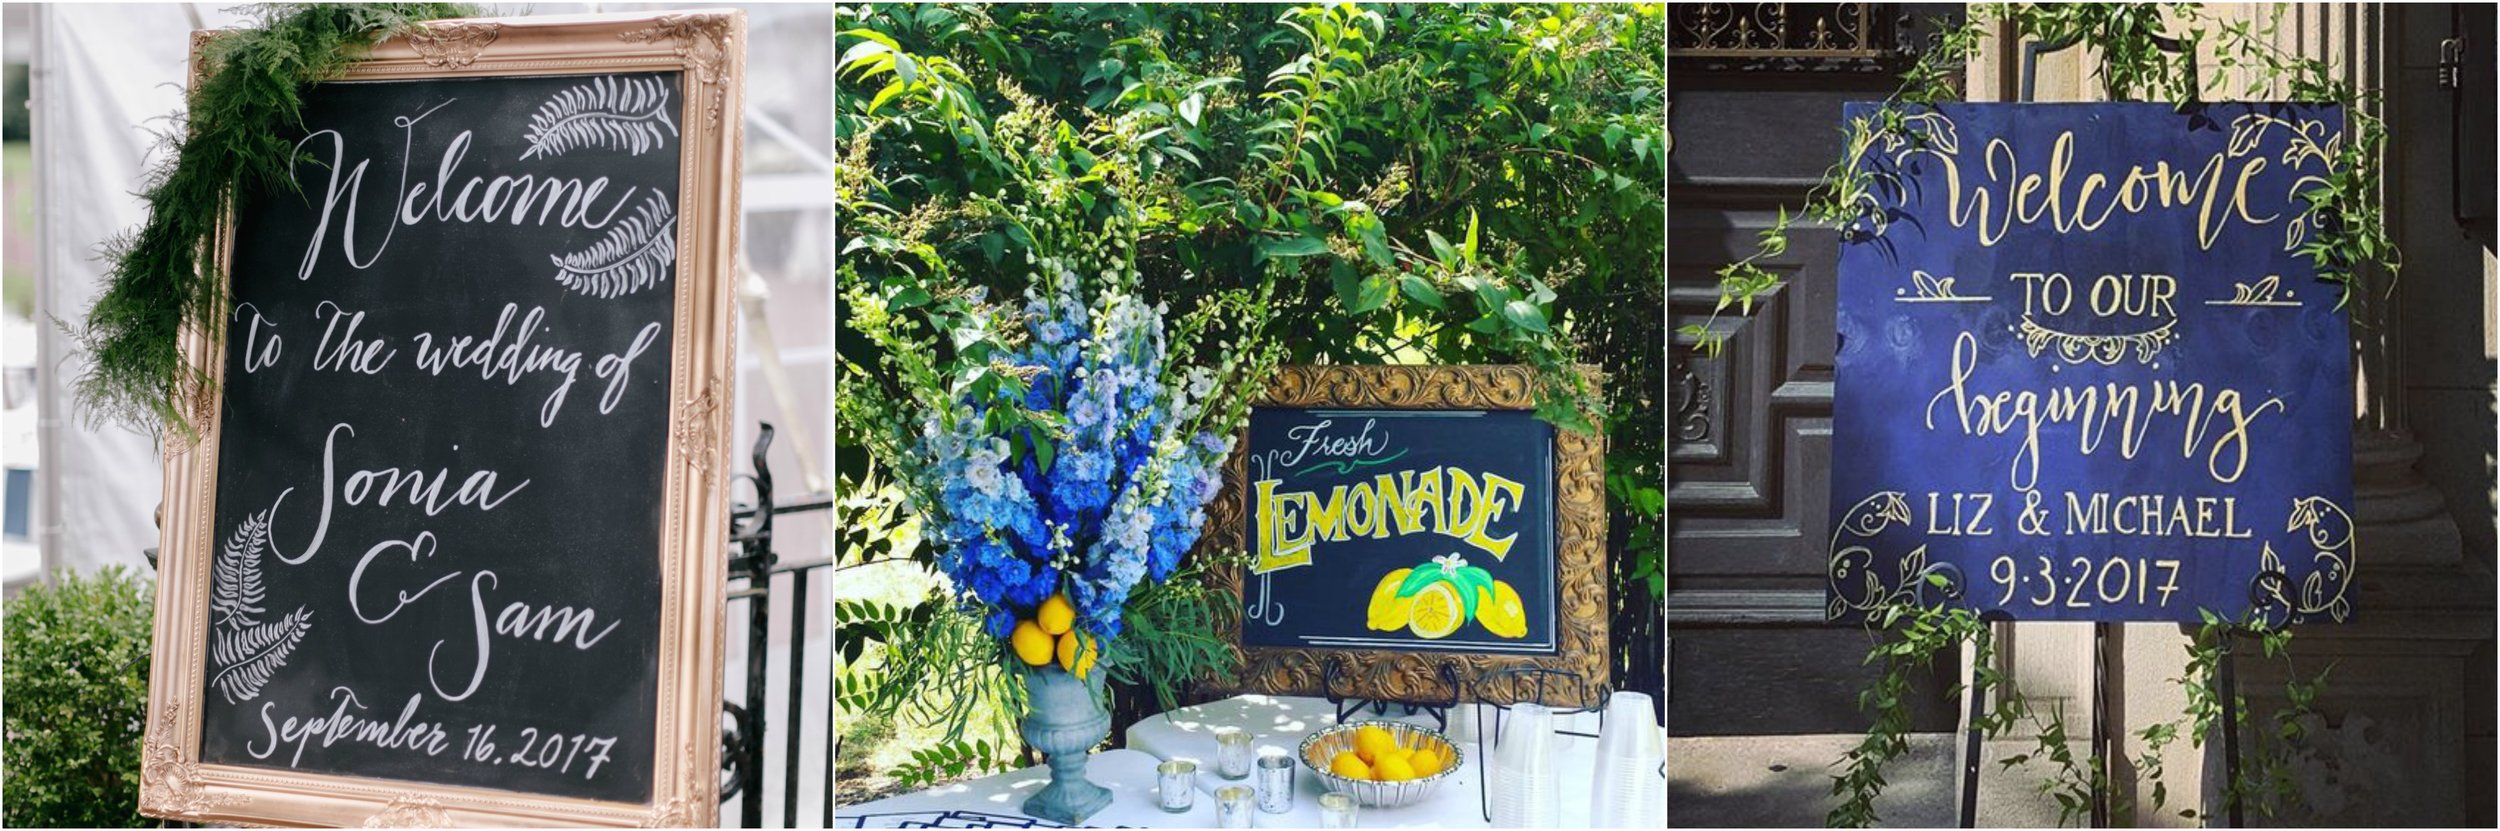
Custom signage by Cristina Kramer
Do it yourself!
If you love the look of these handmade signs, be sure to sign up for our workshop with Rustic Wings on Tuesday, October 24th at 6pm! This will give you a live presentation and teaching on how to create a fall-themed pallet sign yourself.

Can't make the class?
We threw together these quick videos and a few handy tips that may help you to getting your DIY on at home. We've had a couple of camera malfunctions so forgive the lack of a "step by step" approach, but hopefully you'll find this useful anyway!
What you'll need:
- piece of wood (I used a 2'x2' of plywood from Home Depot - about $6)
-stain (I like darker tones and tend to use "espresso" or "cherry")
- gloves
-rag
- chalk marker
-enhancements! For this sign I used stencils and copper spray paint, but you can use different colored chalk markers or paint for your own designs
Step 1 : Stain the wood
Be sure to use gloves, work in a well-ventilated area, and evenly coat the wood in a consistent pattern. Don't forget to get the edges for a finished look!
Step 2 : Write your basic script
This is so much easier than it looks! Using cursive handwriting, write out the word or phrase you'd like to feature. The trickiest part for me is making sure the script is centered - thankfully, loose cursive is very trendy right now, so if I'm off center, I usually add a few lengthy swirls to the end letters to make it look even.
Step 3 : Enhance the script
This is the super secret part that makes lettering look so fancy schmancy. As a rule, for every part of the letter that uses a "down" stroke, I give it about 3x the thickness. Don't be afraid to go bold!
Step 4 : Illustrate
Some vendors don't add illustrations to their designs - it all depends on your preference. As an artist, my personal theory is that it always looks better to add some design. Sometimes I'll do full scenes (like a red truck carrying a Christmas tree) or small touches like a few leaves. This is the part where you can freehand it yourself or use stencils like I did here.


