Beautify a Blustery Day
When you're stuck inside on snowy days like this week has been, it's hard not to go a little stir crazy. Thankfully, we're surrounded by lots of indoor plants and their plentiful perks to help make it a bit easier!
Filling your home with indoor plants has quite a few benefits. For starters, it's a great way to keep fresh air cycling as they reduce carbon dioxide levels and up the humidity. Huffington Post did an article a few years ago about how plants purify your home and de-stress your indoor environment - they're even used by NASA for those astronauts who are stuck inside for such extended periods of time #relateable.
If you don't have much of a green thumb, terrariums are a great route to take to cash in on the benefits of having indoor botanicals because of how low maintenance they are. With a ton of options in what kind of materials you can use, they also double as unique decor pieces!
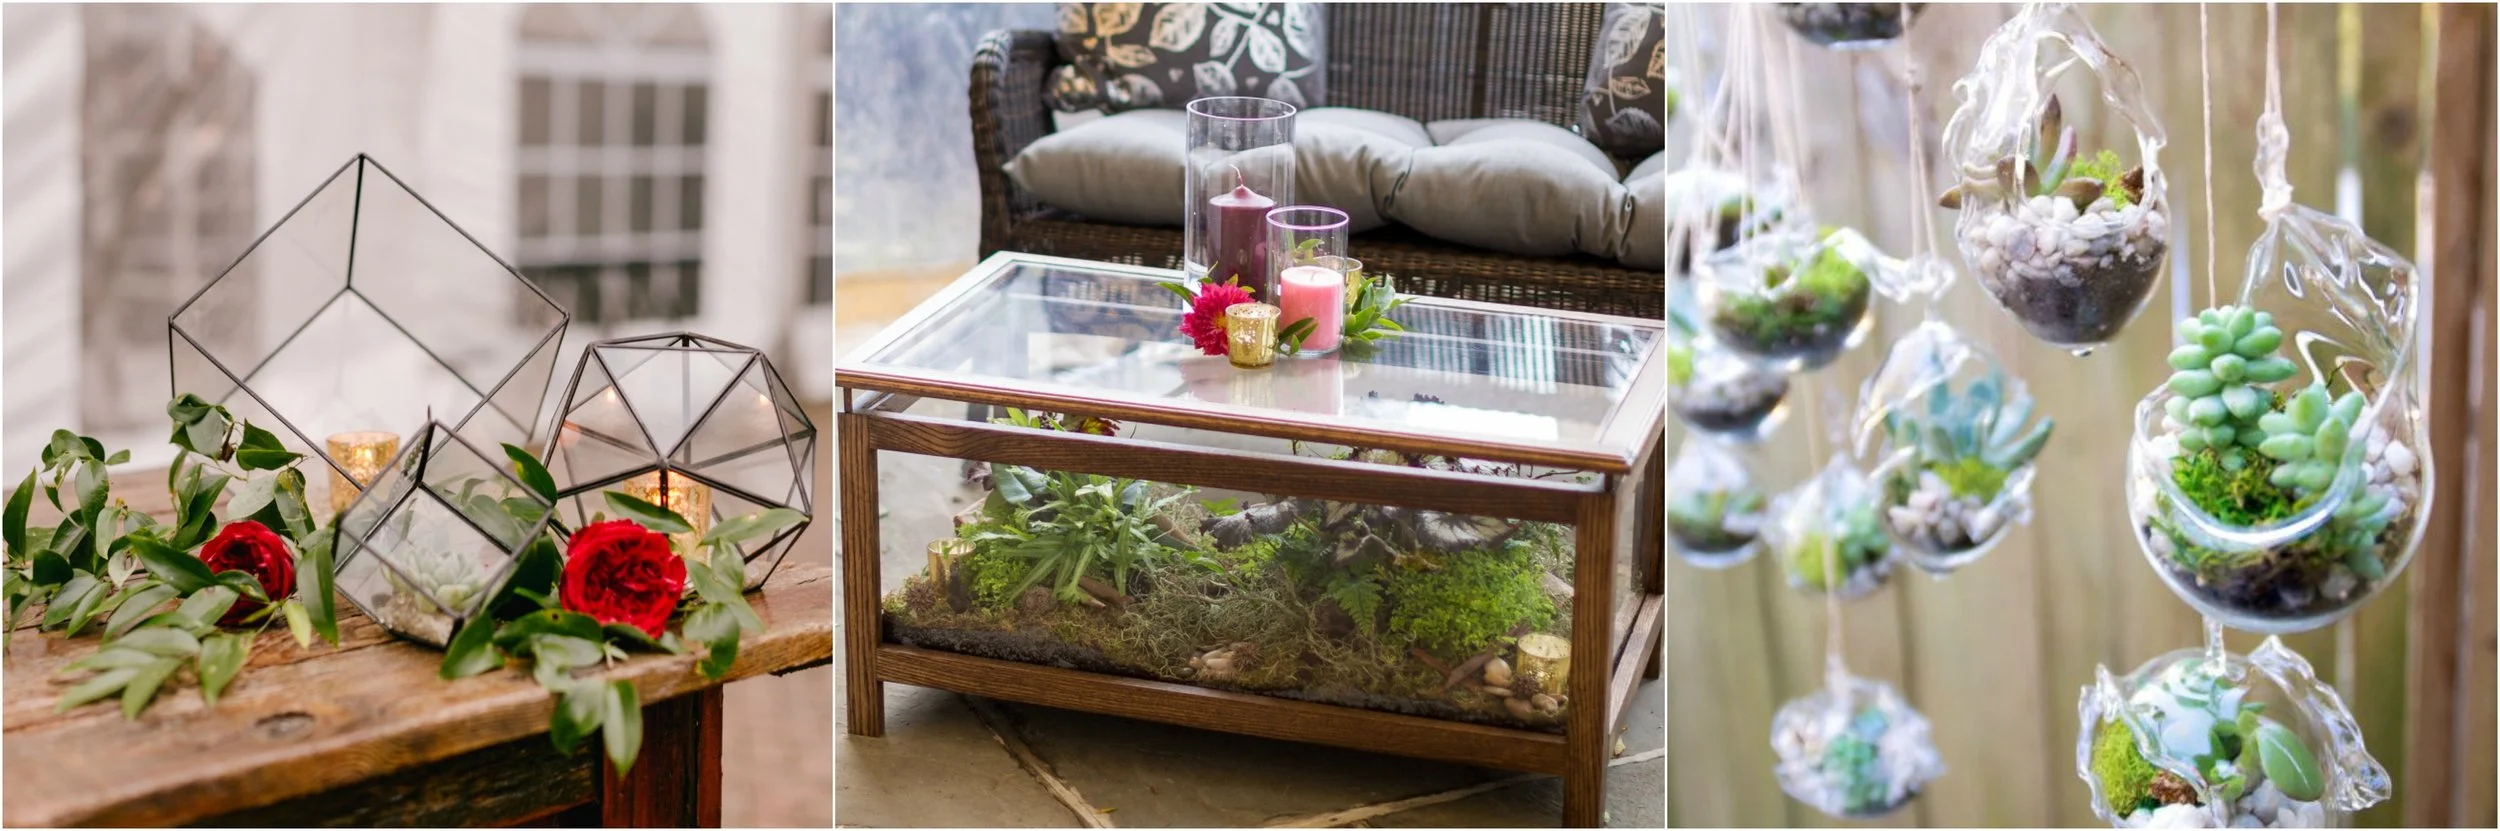
Left : wedding decor, Emily Wren Photography // Center : A Garden Party terrarium coffee table, Tami & Ryan Photography // Right : hanging terrariums, Google Images
DIY Terrarium
What you'll need :
- Container (we love these options from Terrain, but you can also use anything that is glass with an open top - coffee pot, vase, bowl...)
-potting soil
-charcoal (you can usually find some at your local home and garden store, like Roork's in Elmer, NJ or Home Depot)
-pebbles/small rocks
-sand
-moss
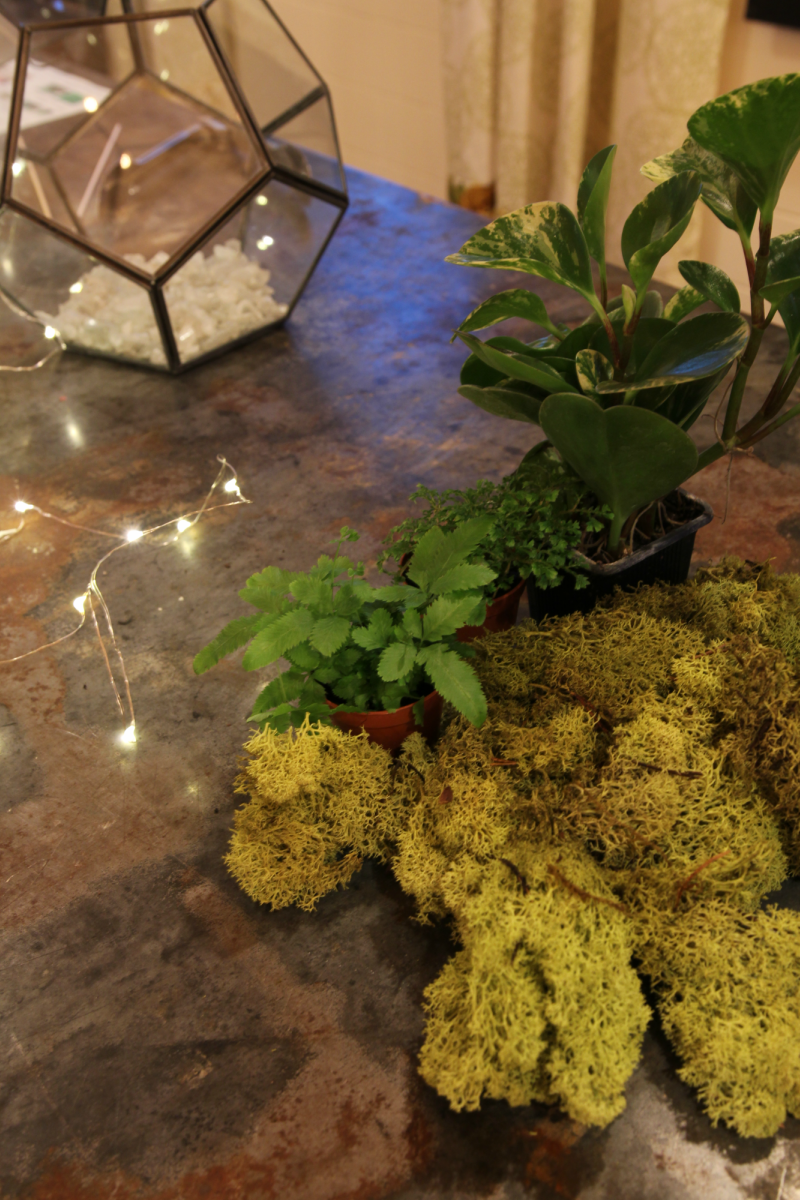
-plants - do some research on what kind of plants you'd like to use. Visit your local greenhouse to see what they offer or our sister business, A Garden Party, would also be more than happy to order a variety of ferns if you'd like to narrow your selection.
-accessories

variety of plants from A Milkhouse Party's terrarium workshop
Instructions:
Step 1. Place a layer of pebbles in the bottom of your container. This will help with soil drainage and keep you from over-watering (probably the most common mistake of indoor plant maintenance.) You can use natural pebbles from your backyard or go to a craft store for some fun colored options.
Step 2. Add a layer of charcoal on top of the pebbles. This step is especially necessary if you're creating a sealed terrarium, as it will keep the soil fresh. Depending on the size of your container, make sure your layers are even and relatively small (Steps 1-4 should only take up about a third of the height of your container.)

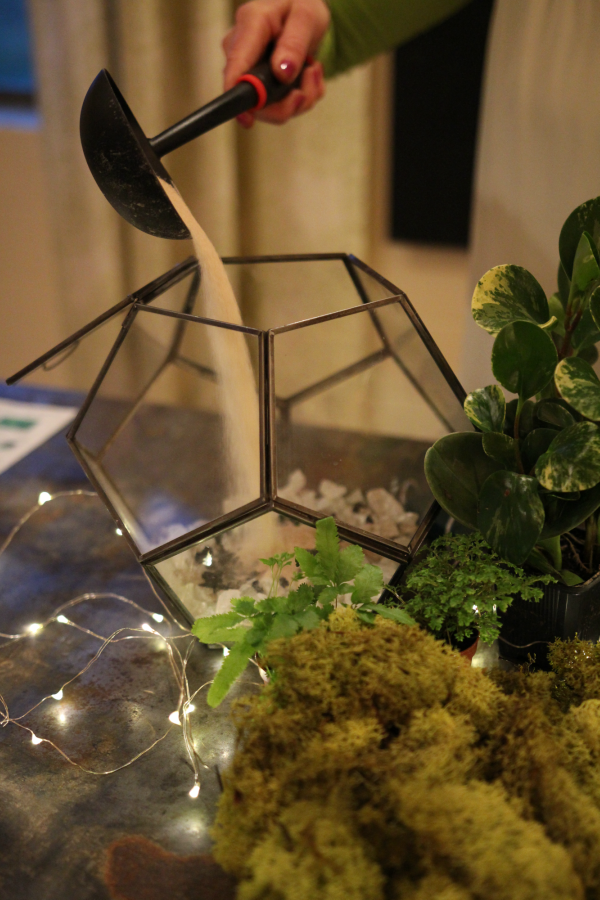
Step 3. Add a layer of sand on top of the charcoal.
Step 4. Add a layer of soil. Make sure the soil will be deep enough to bury the roots of your plants.

Step 5. Add your plants! Make sure to leave room for the growth of the plants and don't pack too many in together.
Step 6. Place moss in any of the open spots of soil by the base of your plants.
Step 7 (optional). Accessorize! Use miniature figurines, animals, string lights or fairy garden adornments to create some quirkiness, or leave it au natural for a more sophisticated look.

Enjoy!

Liked this post?
Join us for more DIY and hands-on fun at A Milkhouse Party!